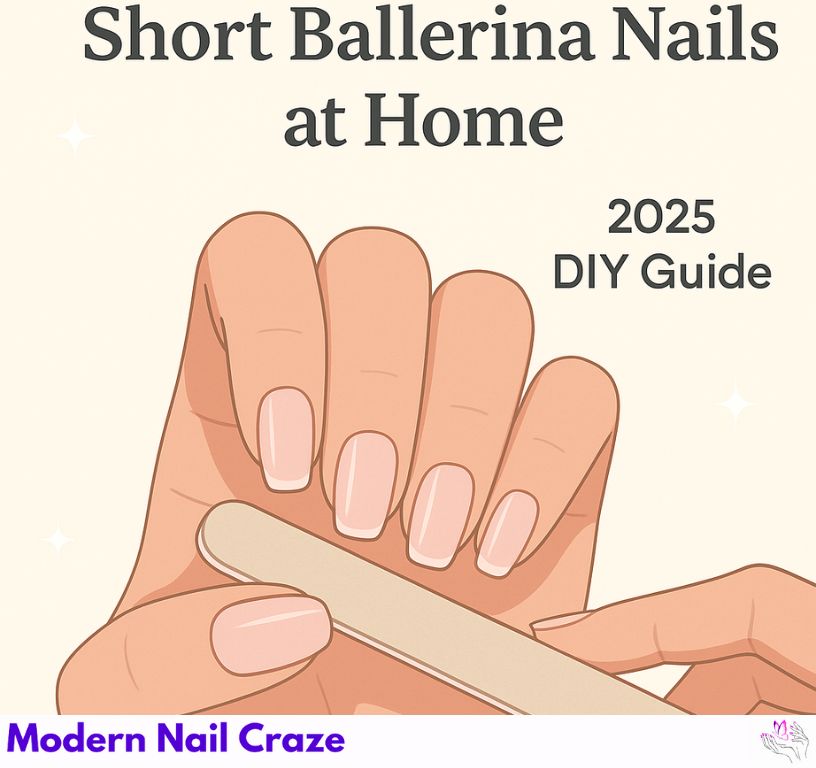
Introduction of How to Shape Short Ballerina Nails at Home

Dreaming of salon-quality short ballerina nails without stepping out of your house? You’re in the right place!
Short ballerina nails are elegant, modern, and surprisingly easy to shape at home with just a few tools and a little patience.
In this step-by-step guide, you’ll learn how to shape ballerina nails, create the perfect tapered silhouette, and get flawless results that stay strong and stylish.
Let’s dive into the ultimate DIY guide for perfect short ballerina nails!
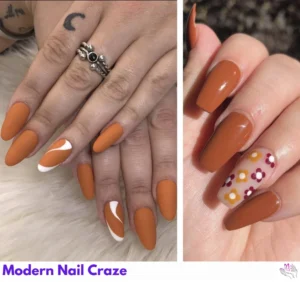
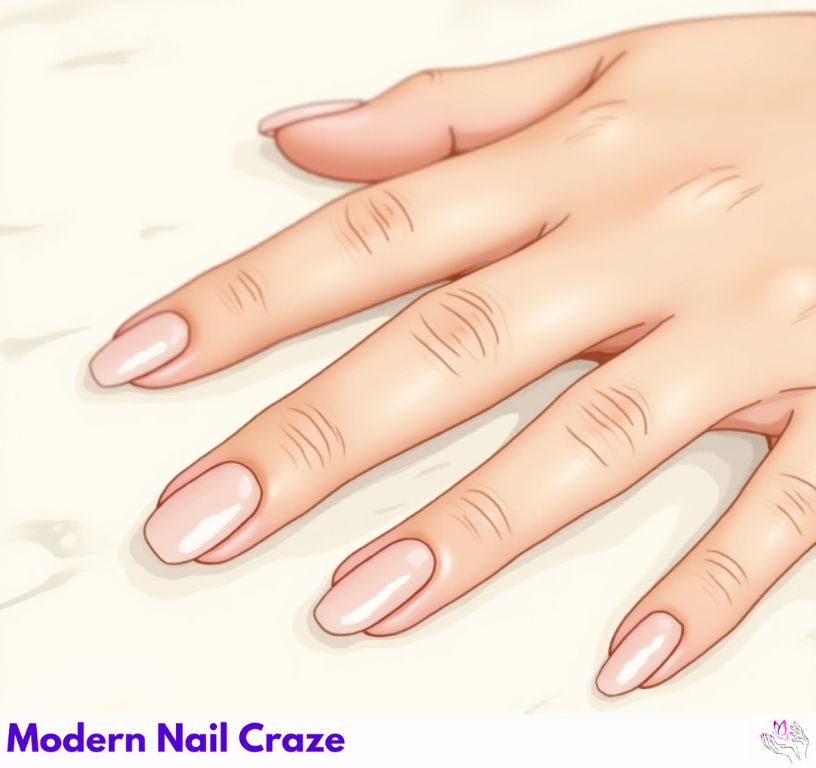
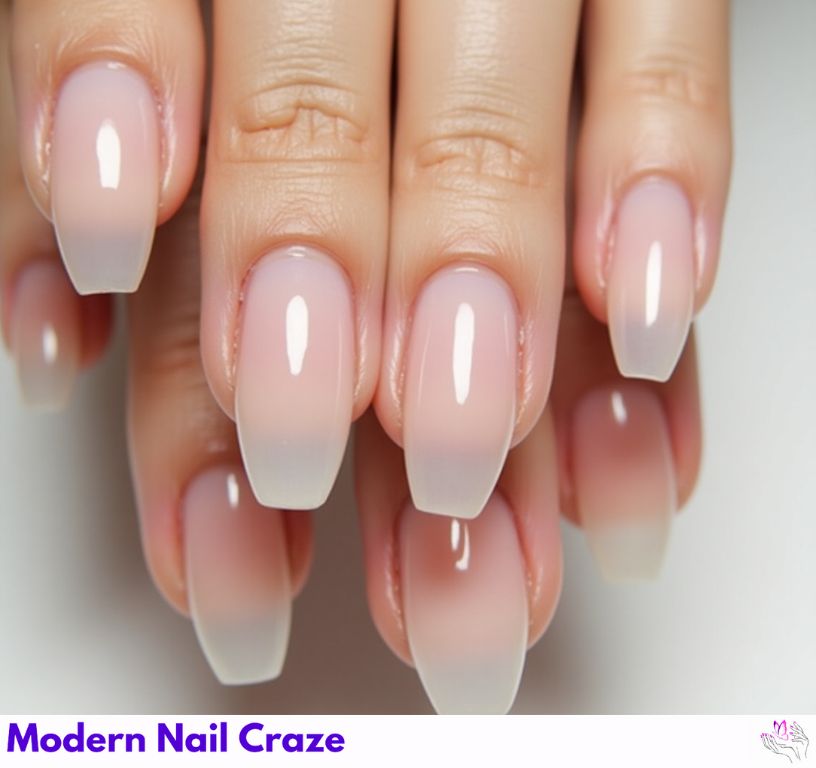
What Are Short Ballerina Nails?
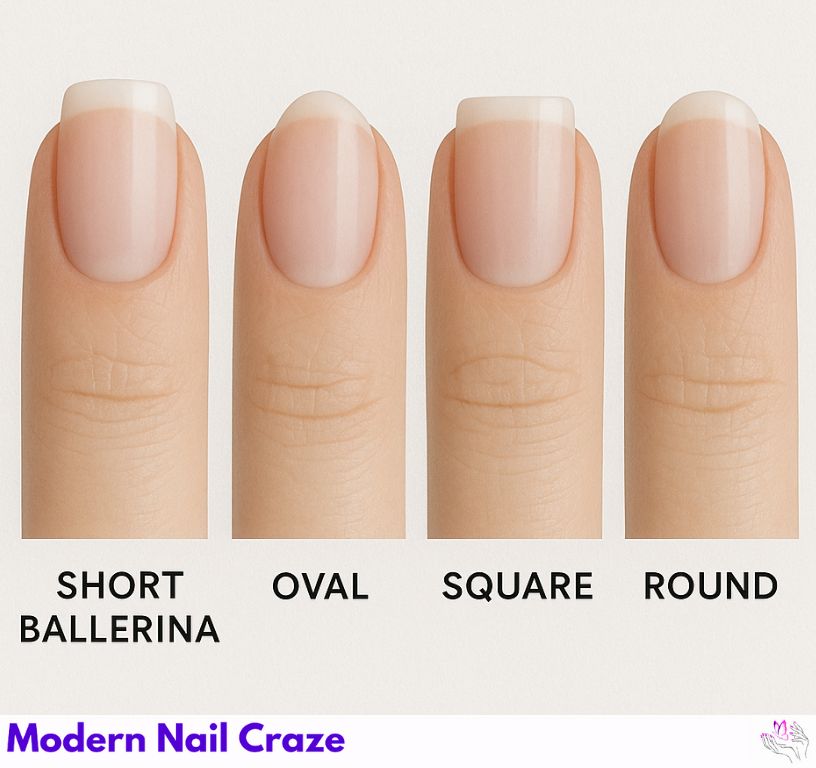
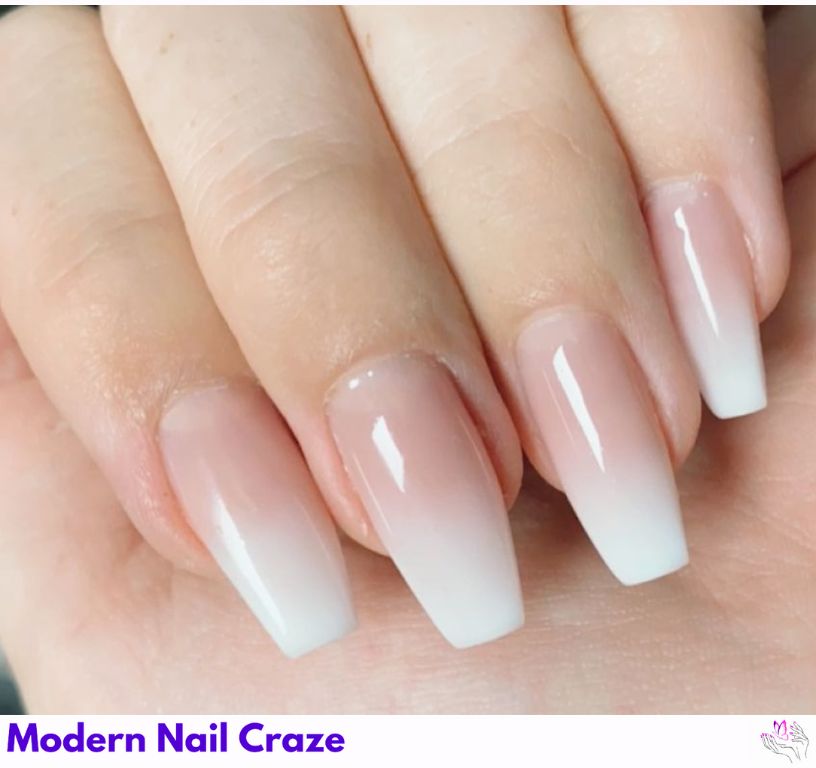
Short ballerina nails feature slightly tapered sides with a flat, squared-off tip, resembling the shape of a ballerina’s pointe shoe.
They’re often compared to coffin nails, but ballerina nails tend to have a slimmer, more delicate profile.
Perfect for busy lifestyles, elegant everyday looks, and minimalist nail designs, short ballerina nails are both trendy and practical.
Why Shape Your Own Short Ballerina Nails?
- Save Money: Avoid expensive salon visits.
- Customization: Shape nails exactly how you want them — slim or slightly wider.
- Healthier Nails: Protect your natural nails from harsh chemicals often used in salons.
- Quick Maintenance: Keep your short ballerina shape fresh without waiting for appointments.
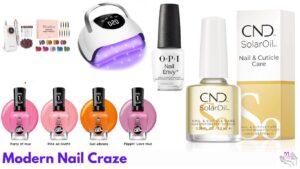
What You’ll Need to Shape Short Ballerina Nails
Before starting, make sure you have these essentials for perfect ballerina nails at home:
- Nail clippers (sharp and clean)
- Fine-grit nail file (180/240 grit)
- Soft nail buffer
- Cuticle pusher
- Strengthening base coat and top coat
- Optional: Nail hardener for extra strength
Step-by-Step: How to Shape Short Ballerina Nails at Home
1. Trim to the Right Length
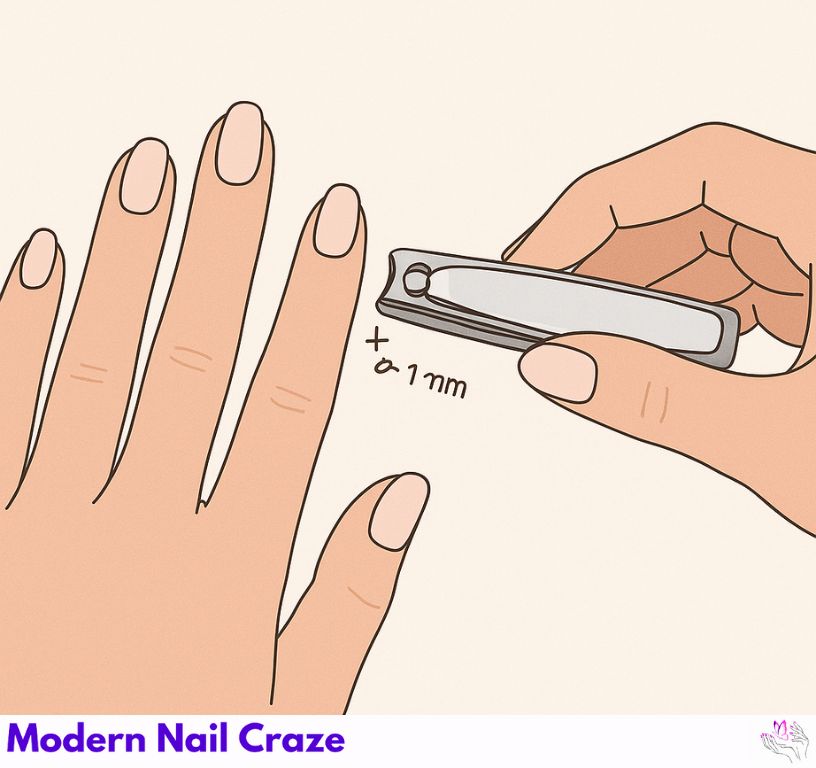
Start by trimming your nails to a medium-short length.
Leave about 1–2 mm of free edge to create the foundation for your ballerina shape.
2. File the Sides Gently Inward
Hold your nail file at a slight angle and file the sides to taper them inwards.
Be careful — short ballerina nails need a gentle inward slope, not a sharp stiletto point.
3. Create a Flat Tip

Once the sides are shaped, file the tip flat across.
This flatness is what makes ballerina nails unique compared to almond nails or rounded shapes.
4. Smooth and Balance Both Sides
Check your nails from the front view and make sure both sides are even and symmetrical.
Refine the shape carefully — symmetry is key for professional-looking ballerina nails.
5. Buff the Surface
Use a soft buffer to smooth the nail surface and edges.
This helps your polish apply smoother and last longer.
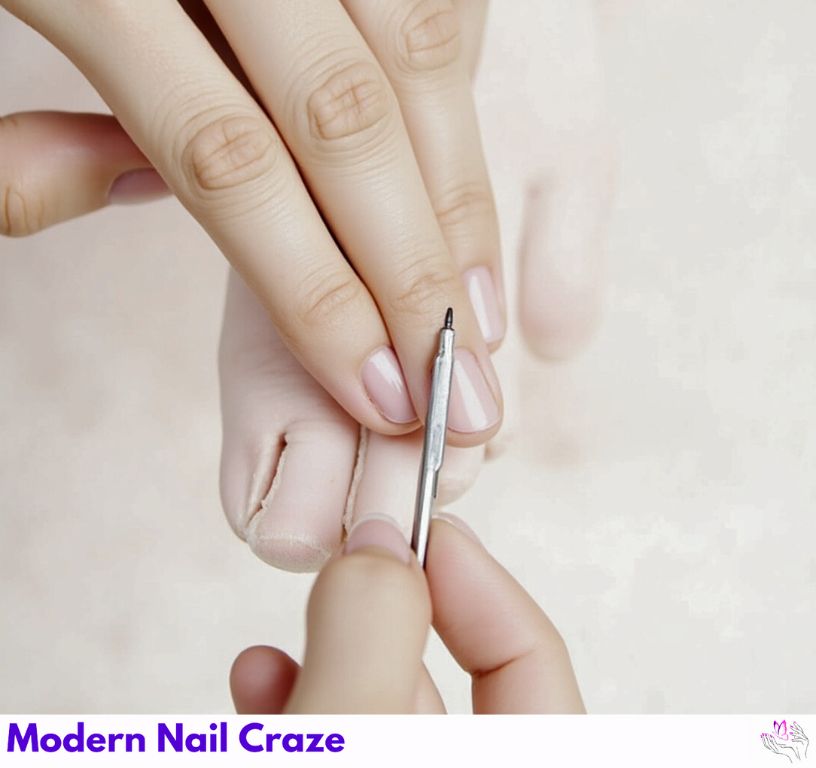
6. Hydrate Cuticles and Apply Polish
Push back your cuticles gently, apply a strengthening base coat, and finish with your favorite nail polish color and top coat for extra shine and protection.
👉 Need more ballerina nail inspiration? Check 25 Trendy Short Stiletto Nail Ideas for 2025 Chic and Classy
Pro Tips for Flawless Ballerina Shaping
- File in one direction only to avoid splitting.
- Hold the file steady — don’t tilt too much inward.
- Buff lightly — don’t over-buff or you’ll thin the nail plate.
- Use a high-quality fine-grit file for smooth, clean edges.
Common Mistakes to Avoid When Shaping Short Ballerina Nails
- Over-tapering the sides: Makes nails fragile and prone to breakage.
- Failing to flatten the tip properly: Results in an almond or oval shape instead of a ballerina silhouette.
- Using a rough file: Can cause tears, cracks, and uneven shaping.
Final Thoughts
Shaping your own short ballerina nails at home isn’t just easy — it’s empowering!
With the right tools and techniques, you can create a sleek, elegant nail shape that’s both durable and stylish.
Ready to try it yourself? Comment below and share your favorite ballerina nail polish color!
👉 Need more ballerina nail inspiration? Check Short Ballerina Nails That Slay – 20 Trendy Looks (2025)